Guide to Customizing the Payload CMS Navbar
Learn how to customize the Navbar in Payload CMS with this comprehensive guide. Dive into the process and enhance your development skills.
Guide to Customizing the Payload CMS Navbar
Welcome to our comprehensive guide on customizing the Navbar in Payload CMS! In this tutorial, we will walk you through the exciting process of tailoring the Navbar to fit your specific needs.
What You Will Learn
- Understanding the structure of the Payload CMS Navbar
- Step-by-step guide to customizing the Navbar
- Best practices for Navbar customization
- Tips and tricks for enhancing user experience
Why Customize the Navbar?
The Navbar is a crucial component of any Content Management System (CMS). It provides easy navigation and access to various sections of your website. Customizing the Navbar in Payload CMS allows you to create a more intuitive and user-friendly interface, tailored to your specific requirements.
Understanding the Payload CMS Navbar Structure
Before diving into customization, it's essential to understand the basic structure of the Navbar in Payload CMS. The Navbar typically consists of several key elements:
- Logo/Brand Name: Usually placed on the left side, representing your brand.
- Navigation Links: These links direct users to different sections of your website.
- User Profile/Actions: Located on the right side, providing access to user-specific actions like login, logout, or profile settings.
Step-by-Step Guide to Customizing the Navbar
- Accessing the Navbar Configuration File
- Navigate to the configuration file where the Navbar settings are defined. This file is usually located in the
srcdirectory of your Payload CMS project.
- Modifying the Navbar Structure
- Open the configuration file and locate the Navbar section. You can modify the existing structure by adding, removing, or rearranging elements.
- Adding Custom Links
- To add custom links, define new objects within the Navbar array. Each object should include properties like
labelandpathto specify the link text and destination.
- Styling the Navbar
- Customize the appearance of the Navbar by modifying the CSS styles. You can change colors, fonts, and spacing to match your brand's design guidelines.
- Testing the Customized Navbar
- After making the necessary changes, save the configuration file and refresh your Payload CMS interface. Test the Navbar to ensure all links are working correctly and the design is consistent.
Best Practices for Navbar Customization
- Keep It Simple: Avoid overcrowding the Navbar with too many links. Focus on the most important sections of your website.
- Consistent Styling: Maintain a consistent design language throughout the Navbar to ensure a cohesive user experience.
- Responsive Design: Ensure the Navbar is responsive and works well on different screen sizes and devices.
Tips and Tricks for Enhancing User Experience
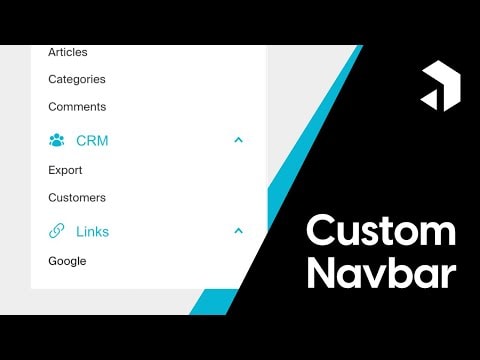
- Dropdown Menus: Implement dropdown menus for sections with multiple sub-pages to keep the Navbar clean and organized.
- Search Functionality: Add a search bar to the Navbar to allow users to quickly find content.
- Accessibility: Ensure the Navbar is accessible to all users, including those with disabilities. Use proper contrast ratios and keyboard navigation support.
By following this guide, you will be able to customize the Navbar in Payload CMS to create a more intuitive and user-friendly interface. Happy coding!
Submitted